Catalogs & Connections
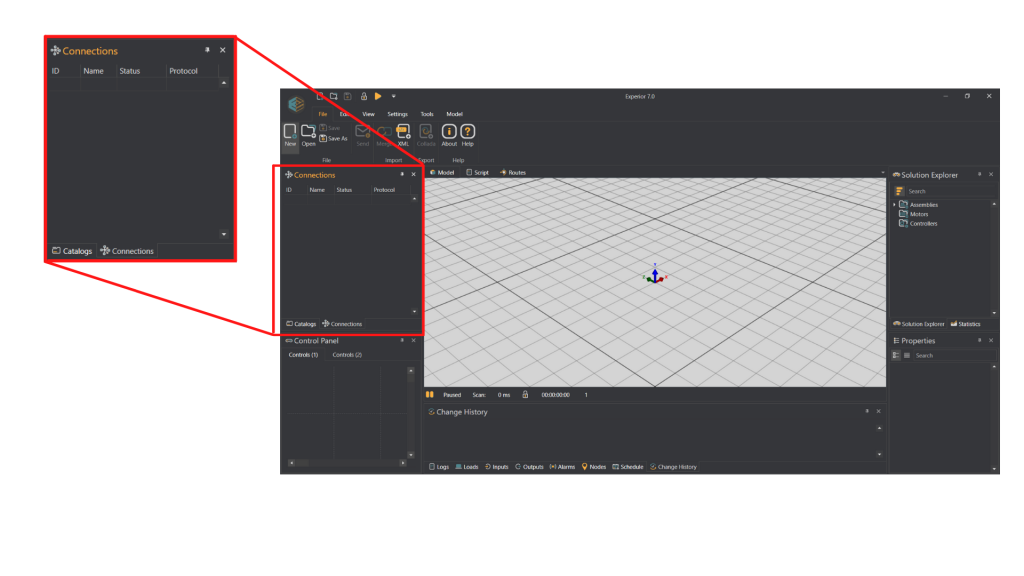
When the Machine Expert Twin layout is set to default mode, you will find the connections and catalog window on the top left side of the screen. This window has a few different functions:
1. Catalog
The catalog is where you can see the assemblies that are available to you. The catalogs function as a form of libraries where you can browse the different assemblies and other items. Which assemblies shows up depends on which catalogs you have loaded when you started Experior. In the very beginning you should see a window like this:
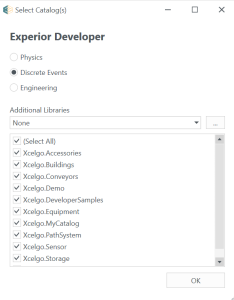
If this window does not show up when you start the program, please read about the Experior startup options here.
This window is where you choose which catalogs will be loaded into the program. Make sure to at least include some of the catalogs, otherwise the catalog window will show up empty and you will have no assemblies to build your model from. Once you have chosen your catalogs they will show up in the catalogs window. To see what each catalog contains either double click on it or click the small arrow to the left of the catalogs name. This opens up any sub categories which you can in turn open up too, to see the individual assemblies. Once you have found the assembly you need, you can either click on it and then click on the model floor to insert it into the model or you can chose to drag it to where you want it placed and then click to place it. The catalogs window also has a few additional features. You can change the layout of the catalogs on the top left of the window:
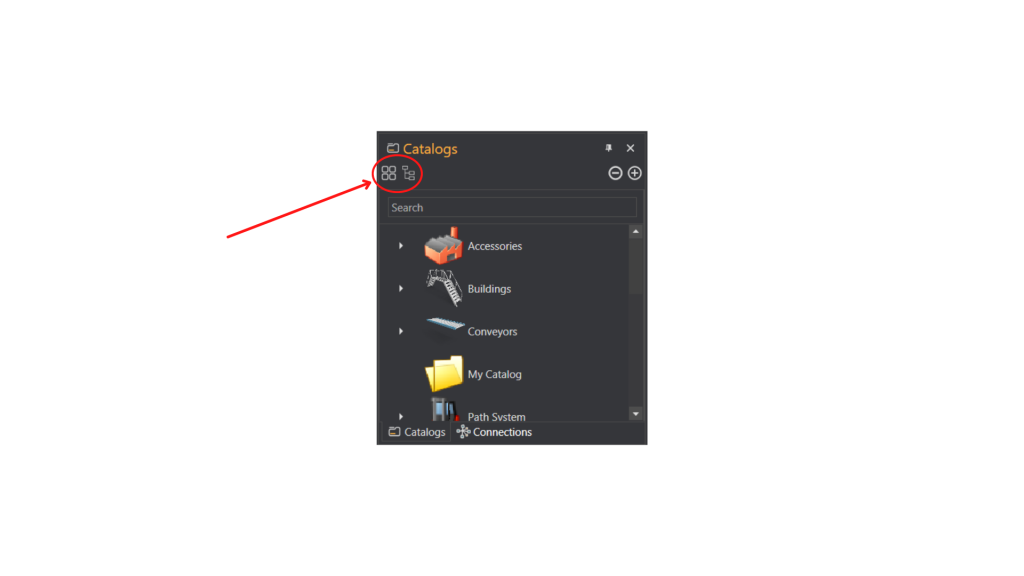
There are two different views to choose from depending on your preferences:
Gallery view style or three view style:
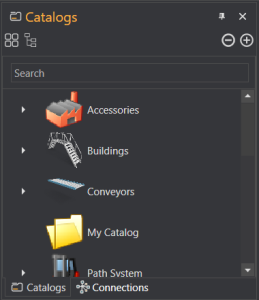
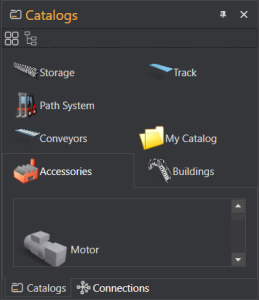
To the right of the catalog layout buttons in three view you have the option to zoom in and out on the content of your catalogs. Below that you have a search bar, where you can search for any specific assemblies in your catalogs. above the zoom buttons is a small tack titled Auto Hide. Pressing this button will hide the catalog and connections window right below the Experior menu bar so it looks like this:
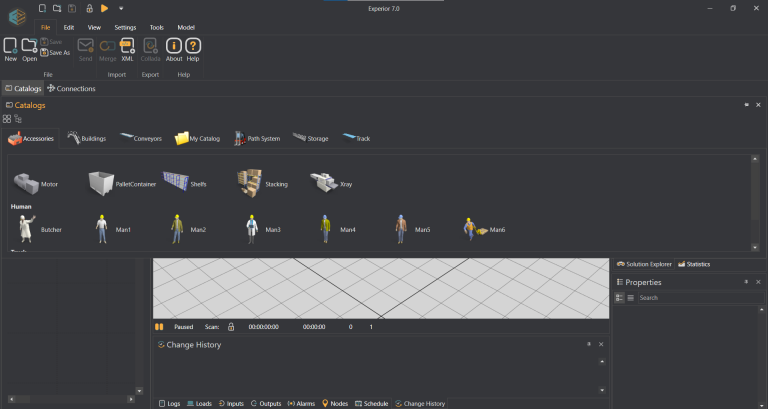
To reset the window to its original position either drag it back to where you want it and hover over that spot until you have the option to place it or go to the View tab in the menu bar and choose reset windows.
2. Connections
The connections tab is where you can connect to your PLCs or higher level systems. When you first open Experior the window will be empty. However, if you right click within the window a menu will show which allows you to create connections:
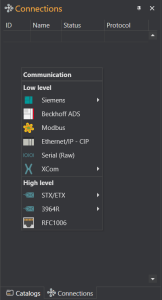
From this menu you can choose which kind of connection you wish to make. You can choose between low level (PLC connection) and high level. When you have chosen one or more PLC connections they show up in the connections window like this:
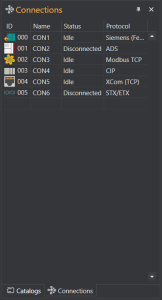
You then specify the IP address of the PLC in the properties window and right click on the connection in the connections window. Then a menu will show up which looks like this:
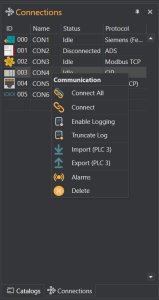
CONNECT ALL: Connect all the PLCs at once (this only works providing you have entered an IP address for each connection)
CONNECT: Connect this specific PLC
ENABLE LOGGING: Log all the messages that the PLC sends and then shows them in the log window
TRUNCATE LOG:
IMPORT: Import all addresses from the PLC in an Excel file
EXPORT: Export the addresses as an Excel file
ALARMS: Opens a new window that allows you to set alarms and which error messages they will display.
DELETE: Deletes the connection
The menu can have fewer options depending on the type of connection.

ALARMS WINDOW:
The subscribe column lets you choose whether or not the alarm is activated. Address, bit and source shows the specific ‘address’ of the alarm. If you think of the address like an actual physical address, the ‘address’ column shows the road name, the ‘bit’ is the house number while the ‘source’ is the postcode.
If the connection to the PLC is address based you can only add alarms when the PLC is not connected. However, if the connection is tag based you can only add alarms when the PLC is connected. Read more about alarms here.
Besides being able to set the IP address in the properties window you also have the option to customize the connection here in other ways.
