Control Panel
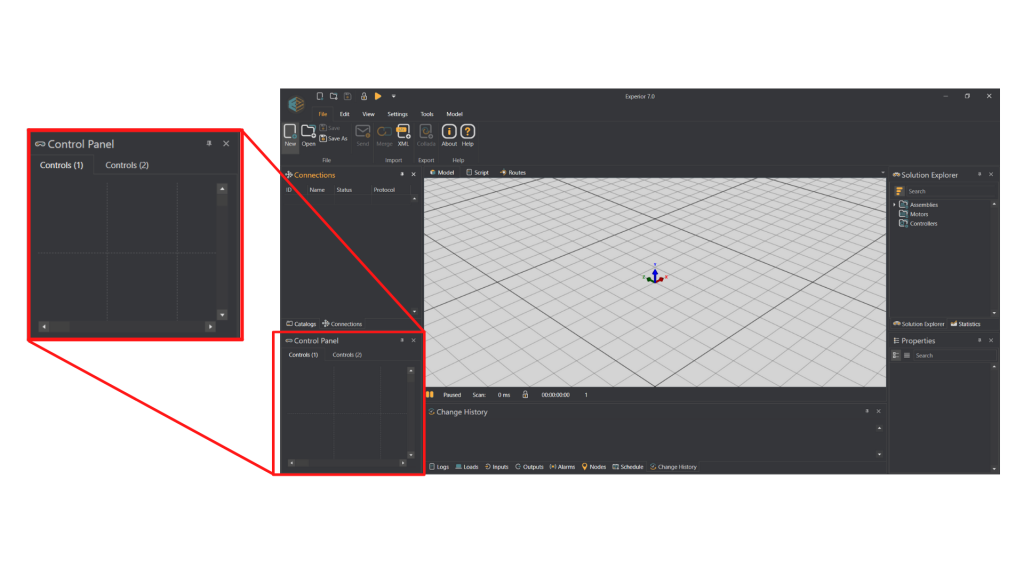
The control panel allows you to insert controls for communicating with the PLC. By right clicking on an empty square of the control panel you will open a control menu, from which you can choose different types of controls:
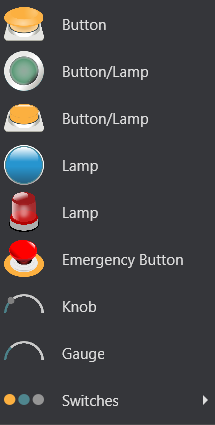
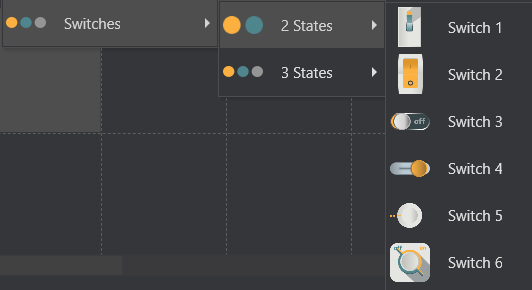
The only difference between the first six controls is variation in design. The buttons work when you press them while the lamps light up when a specific PLC signal is sent. The knob button allows you to switch between many different values, which you can choose in the properties window. The gauge will show values sent from the PLC. ‘Switches’ allows you to choose between two state and three state switches:
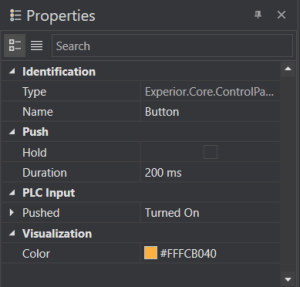
When you have chosen a control, you can see its properties in the ‘Properties’ window. You will also be able to change its name and color here as well as changing different other values for the control:
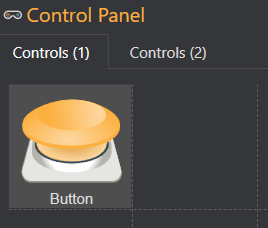
If you right click the button you can either delete it or copy it to get another button with the exact same attributes.
If you right click on the ‘controls’ tabs at the top of the control panel you will see a menu allowing you to make changes to the tab:
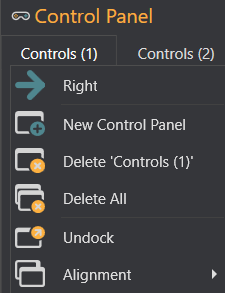
RIGHT: Allows you to move the controls tab right to change the order of the tabs.
NEW CONTROL PANEL: Create a new control panel
DELETE (Tab name): Delete the tab with the corresponding name
DELETE ALL: Delete every controls tab
UNDOCK: Move the controls tab around to another position in the Experior window
ALIGNMENT: Choose where in the control panel the controls tabs are situated
