Measurement Handler
The measurement handler is an extension on the Kinematization feautre. It provides a way for the user to have access to different measurements related to assemblies from the Kinematization plugin. These are the main functionalities:
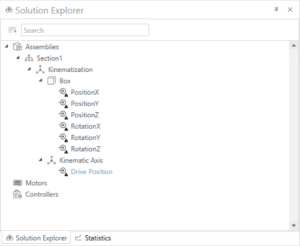
- The user can add different measurements to Kinematization Assemblies. Body assemblies support pose related measurements, and kinematic axis assemblies support pose and scalar measurement.
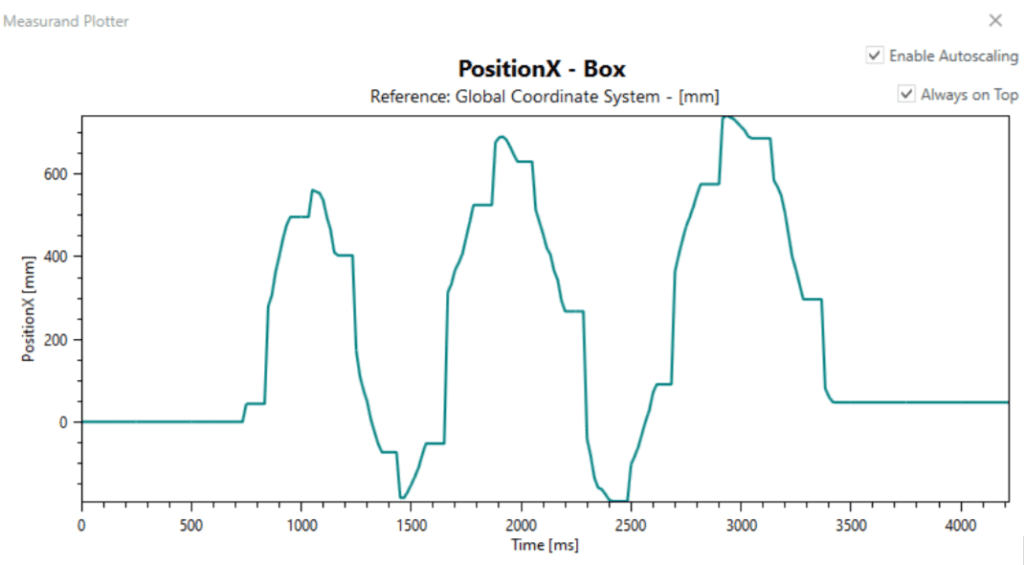
- Measurements can be monitored through a real-time plot.
- Measurements can provide feedback to a PLC.
- Measurements can be exported to a CSV file.
Currently, the user interacts with this feature through the context menu. These are the main actions the user may take:
Enable Measurement Handler
To be able to use this feature with a specific assembly, the Measurement Handler must be enabled.
- Open the context menu and expand the Measurement Handler menu.
- Click on Enable Measurements
Add a Measurement
Once the Measurement Handler is enabled, the user can add measurements. To add pose measurements (only IPoseMeasurables):
- Open the context menu and expand the Measurement Handler menu.
- Expand Measurements, expand Add New Measurement Relative to. Here you can see the Global coordinate system, as well as all other assemblies that implement the IPoseMeasureable interface and have their Measurement Handler enabled. This will be the reference point for the measurements that will be added.
- Once you select the reference point of the measurement, a selection window will appear. Here the user can select what measurands should be added.
- Click OK.
To add scalar measurements (only IScalarMeasurables):
- Open the context menu and expand the Measurement Handler menu.
- Expand Measurements, expand Add New Scalar Measurement to. Here you can see the name of the measurand that can be added. Select the desired measurand.
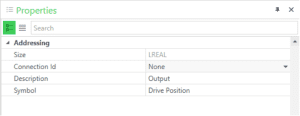
Connect Feedback to PLC
Plotting a Measurement
Once the measurement has been added, a real time view of the measurement can be plotted. The user must:
- Open the context menu and expand the Measurement Handler menu.
- Expand Measurements, Existing Measurements, and look for the measurement that must be plotted. Expand this menu.
- Click on Plot.
- The plot window will open. It will update while the model is running.
Exporting Measurements
The measurements can be exported to a CSV file. This is only possible if measurements have been recorded in the model, and the scene is paused.
- Open the context menu and expand the Measurement Handler menu.
- Select Export Multiple Measurements.
- The Multi Measurand Exporter window will open. Here the user may select as many measurands they would like to export. Additionally, they can select if they want to have the measurements with respect to time, or another measurement.
- Once the selection is completed, click on Export.
- Select the output path for the file.


