Setting up your own model to be viewed in the remote viewer
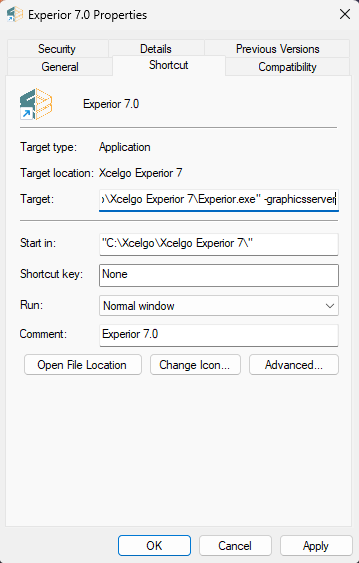
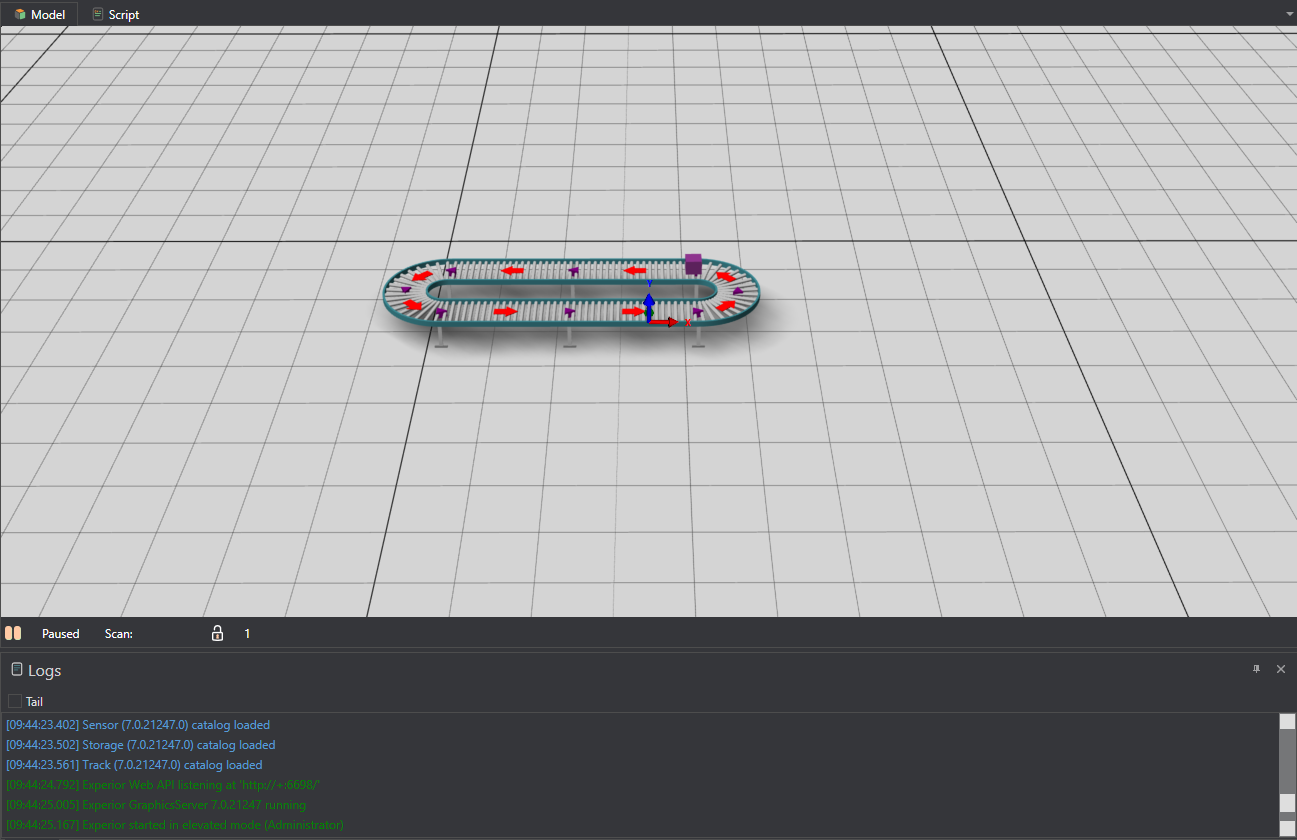
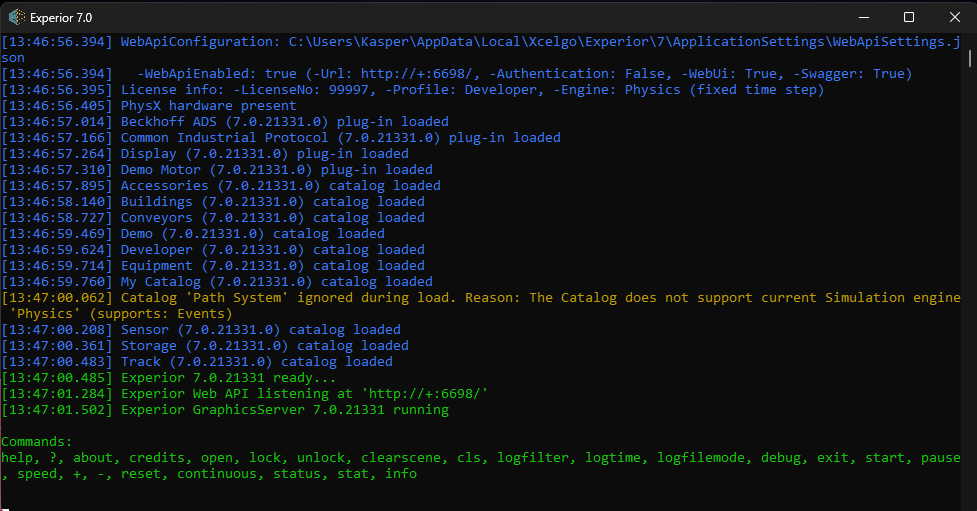
When you have a model you wish to view on your remote viewer, you need to start Experior as a “graphicsserver”. This can be done by either adding the argument ‘graphicsserver’ or ‘headless’ in the properties windows of the experior shortcut. Both arguments opens up the Experior Web API and enables the viewing through the remote viewer. The difference is that ‘Graphicsserver’ will open up Experior as standard showing the physical scene. ‘Headless’ will open up Experior in a console.
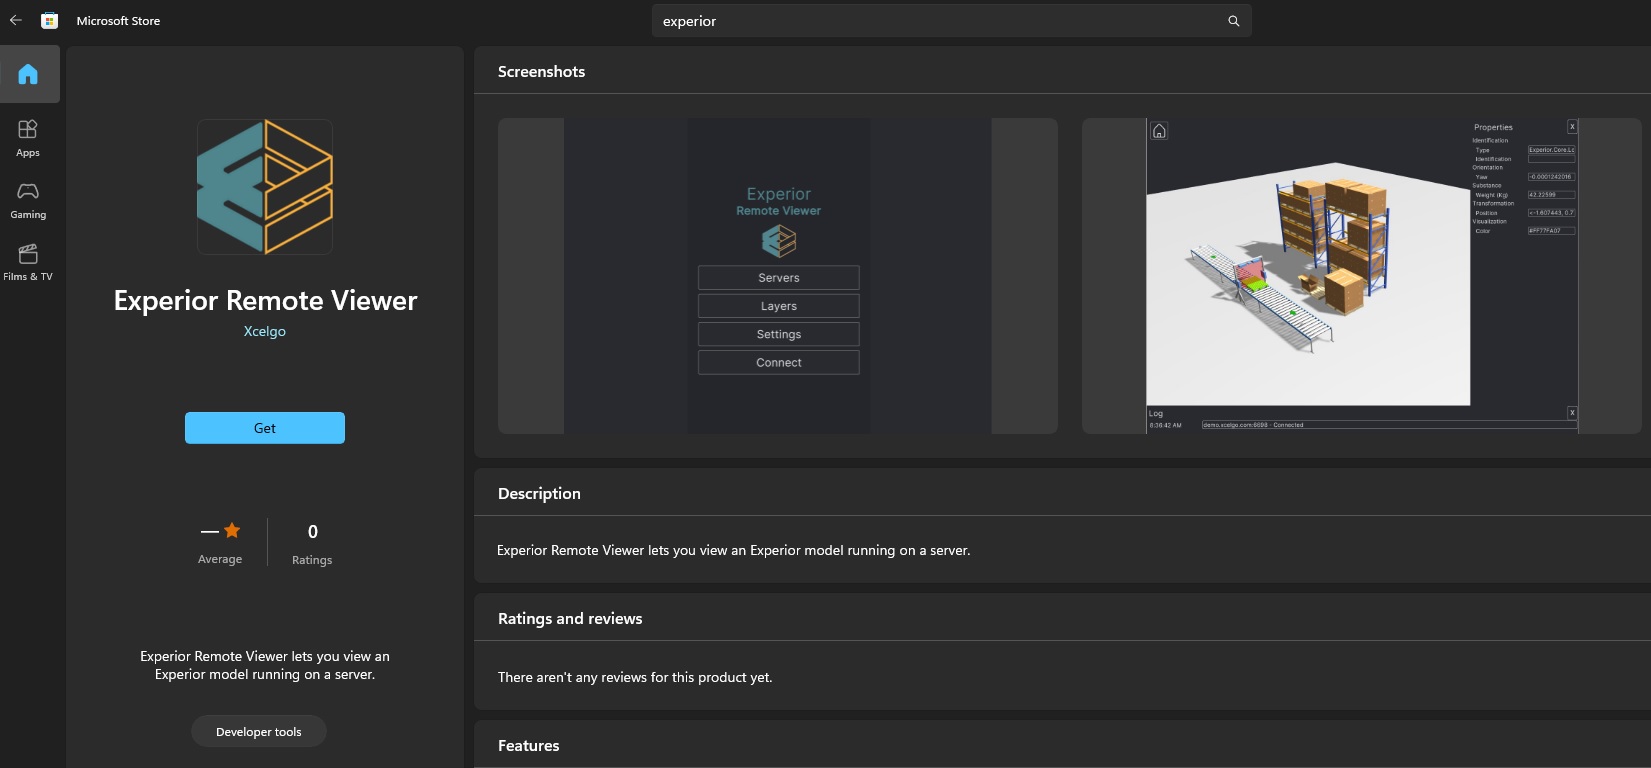
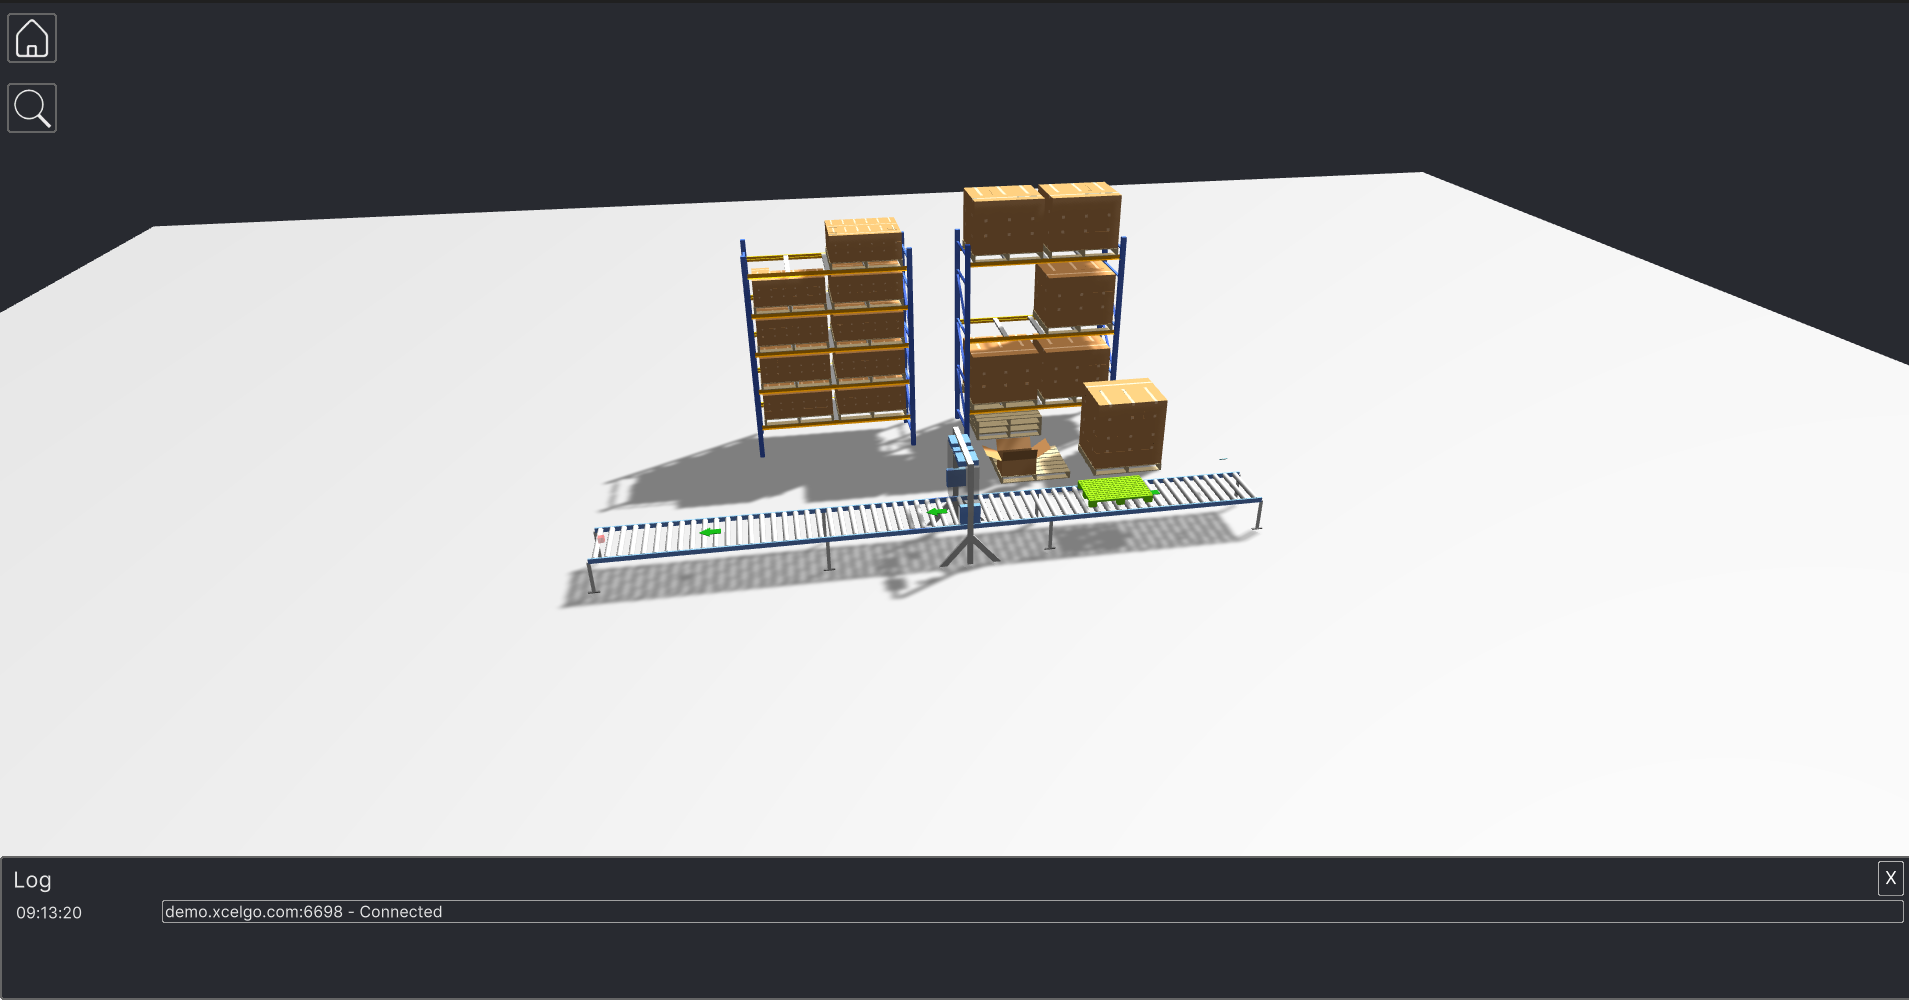
You can now connect to your Experior model, just like you connected to our demo models above. Experior will show the amount of clients looking at the given model.
NOTE: If you want to view a model running on the same windows machine as the windows app viewer you will need to allow access to localhost in the windows defender. This is easily done in Windows Powershell ,with admin rights, and running the following command:
CheckNetIsolation.exe LoopbackExempt -a -n="Xcelgo.ExperiorRemoteViewer_f1em0yb0vwgr8"
ALSO NOTE:
That some antivirus software will also block inbound traffic and/or specific ports. If your are experiencing issues after following the above guide, look through your computers security software.
We use cookies on our website to give you the most relevant experience by remembering your preferences and repeat visits. By clicking “Accept All”, you consent to the use of ALL the cookies. However, you may visit "Cookie Settings" to provide a controlled consent. You can view our policy on privacy and use of cookies in the privacy policy tab found in the bottom of the site
This website uses cookies to improve your experience while you navigate through the website. Out of these, the cookies that are categorized as necessary are stored on your browser as they are essential for the working of basic functionalities of the website. We also use third-party cookies that help us analyze and understand how you use this website. These cookies will be stored in your browser only with your consent. You also have the option to opt-out of these cookies. But opting out of some of these cookies may affect your browsing experience.
Necessary cookies are absolutely essential for the website to function properly. These cookies ensure basic functionalities and security features of the website, anonymously.
Cookie
Duration
Description
cookielawinfo-checkbox-analytics
11 months
This cookie is set by GDPR Cookie Consent plugin. The cookie is used to store the user consent for the cookies in the category "Analytics".
cookielawinfo-checkbox-functional
11 months
The cookie is set by GDPR cookie consent to record the user consent for the cookies in the category "Functional".
cookielawinfo-checkbox-necessary
11 months
This cookie is set by GDPR Cookie Consent plugin. The cookies is used to store the user consent for the cookies in the category "Necessary".
cookielawinfo-checkbox-others
11 months
This cookie is set by GDPR Cookie Consent plugin. The cookie is used to store the user consent for the cookies in the category "Other.
cookielawinfo-checkbox-performance
11 months
This cookie is set by GDPR Cookie Consent plugin. The cookie is used to store the user consent for the cookies in the category "Performance".
viewed_cookie_policy
11 months
The cookie is set by the GDPR Cookie Consent plugin and is used to store whether or not user has consented to the use of cookies. It does not store any personal data.


